Leave No Child Inside

Leave No Child Inside
Just another beautiful day!

Saturday, February 25, 2012

HOW TO: DIY Homemade 60th Birthday Invitations for mom

Without giving to many details away (come on I run a business here!). Here are the 60th Birthday party invitations I made for my mom! I used a couple different fonts (including a 60's font), hard card stock and creative computer skills to make these, print and cut them out. After printing them I added glitter, and a matted it with a light pink paper, and ribbon.

This and a computer are the only supplies I used! I can make custom creative invitations for less than a $2 each.

Friday, February 24, 2012

HOW TO: DIY Yo Gabba Gabba Birthday decorations

This is a series of photos of items I made from paper and other craft materials for my daughters 3rd Birthday party. She loves Yo Gabba Gabba, so that was the theme! I used images I got off the Internet and I used a font similar to that of YGG called "yahoo" and believe it or not I completely designed the radio from YGG by myself as there was not an image available anywhere that I could use. So I used a series of circles, squares and the best color matches on my computer to make it and it turned out great!! Enjoy!! 


This was a pennet banner I made that said Happy Birthday. We also used similar colored paper to make a bunch of rainbow paper chains and used that to add to the decorations. I love paper chains because they are easy to make and use and make a HUGE statement and look so festive!!

Above I cut the arms off the characters so they were more mobile and also made a pennet looking banner that went over the window.


This is a centerpiece I made - i actually ended up making two because it turned out so cool. Just goes to show you what you can do with materials that are just sitting around the house. So metallic duck tape and a printer!


This was the party bags - using my favorite DIY bag pattern I plug in some YGG and voila a custom party bag!

And of course what would a party be without invitations. So I used my awesome radio and went to town to design a unique custom - open in the middle invitation that really ROCKED!! Yes, I am for hire :)

DIY: How to make Homemade Felt Food for kids and Homemade Yarn Food for kids.

DIY: This is how to make FELT Food and YARN or CROCHET foods for your kids pretend play or for a great gift. I got this idea from our Children's museum, they used scrap craft materials such as felt, yarn and ribbon - with no real shapes they just let the kids make what they want out of what pieces they find. I like the idea of having to use the imagination, and these days the plastic toy food is so realistic, it hardly leaves anything to the imagination. So I figured I would leave the "sandwich", and the "salad" in forms of vague shapes and shades resembling food, so there could be some creativity and freedom of imagination. However, I couldn't resist making the rest of the food as realistic as I could. And because I had no patterns, it worked out that while they resemble the intended food, they still leave something to the imagination :) Plus, it's handmade, using some recycled materials and makes for a precious gift that took time, effort and love to make! Enjoy!

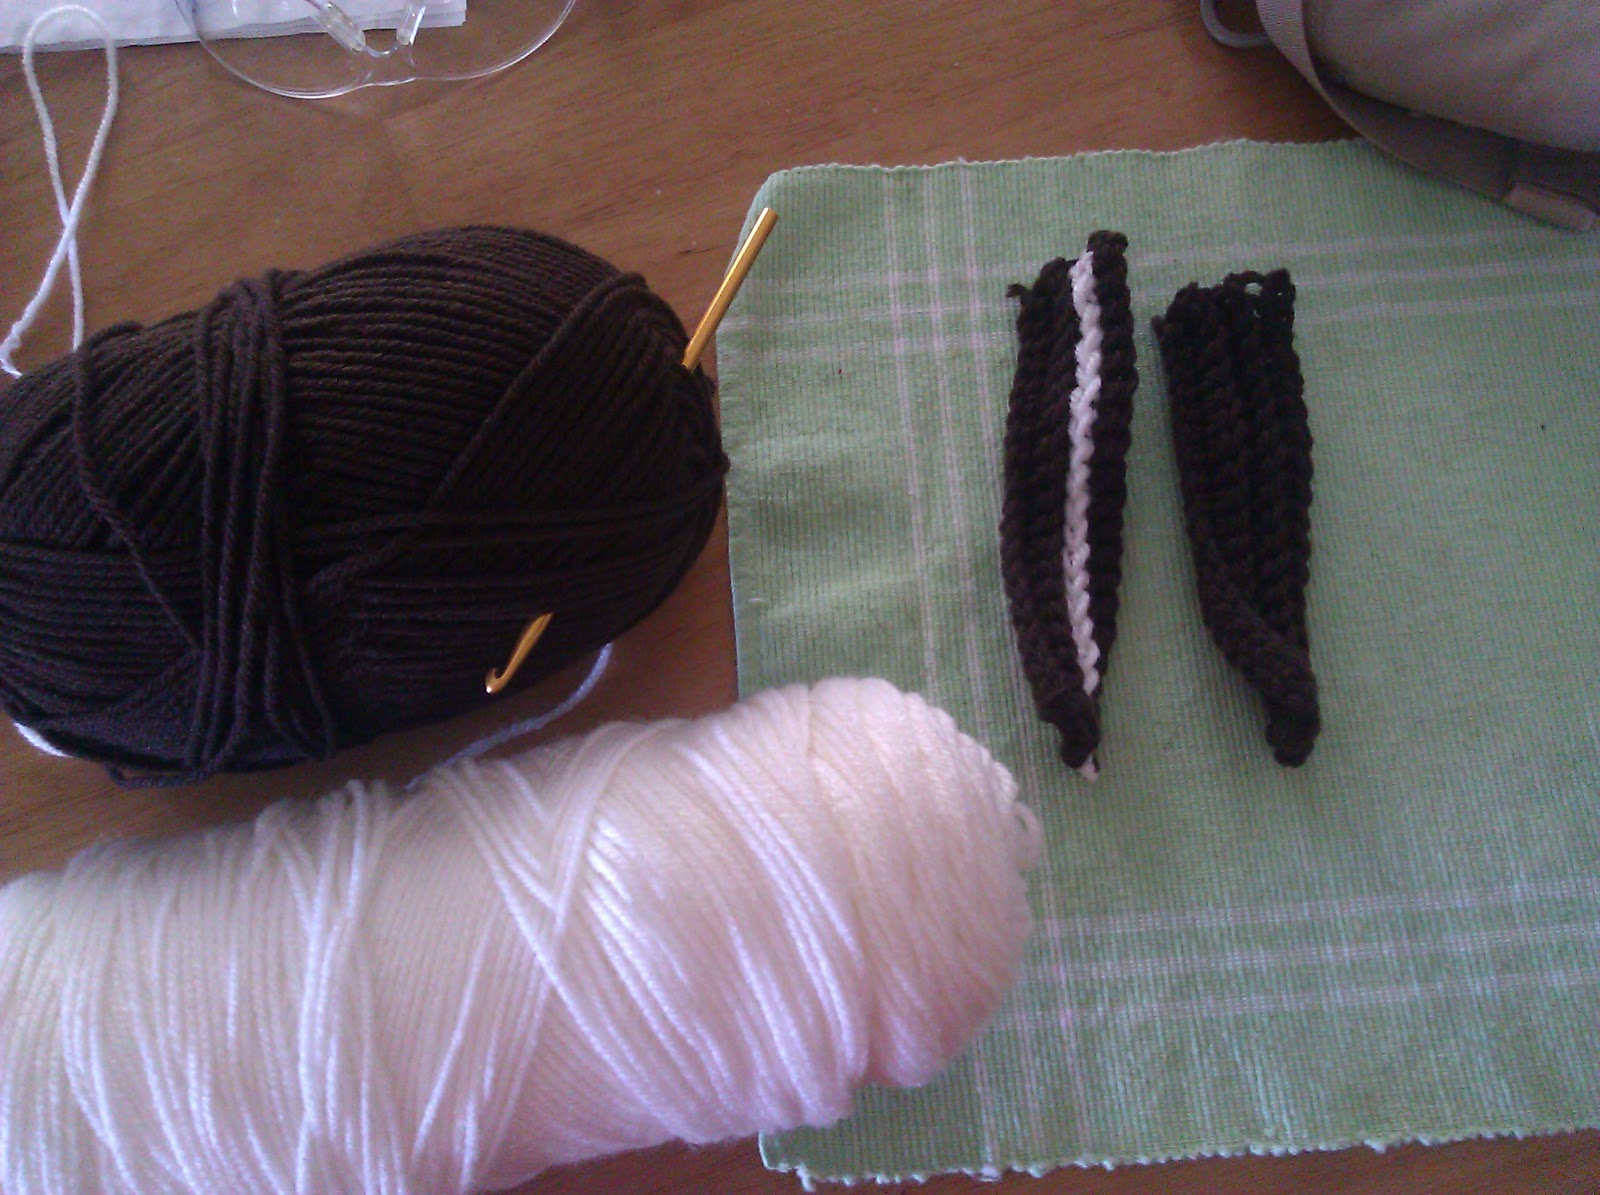
"Making Bacon" - Crochet Bacon using brown and white yarn.

Finally looks like breakfast is ready :) - making crochet bacon, and crochet fried eggs.

The pile and box full of recycled containers I am going to use to "package" the food. Hey it's fun for kids to use real containers that they see us use. Plus, it's great to recycle and saves some money, as I did not have to buy containers.


These are cute little "milk" containers, I have recycled Dannon yogurt containers, washed them and then made cute little labels for them, great addition to my homemade breakfast.  Or as you see in the last photo with the crochet Oreo cookie - it's cute to make cookies and milk!
And of course encourage your little ones to be creative and use various shapes and sized fleece scraps to make a "salad".
ENJOY!!

Monday, January 9, 2012

Kathy's Homemade Chili

Homemade Chili with Macaroni:
2 cans of chili beans
1 can white kidney beans
1 can kidney beans
1 can garbanzo beans
1 can "ranch style" pinto beans
1 can "chili ready" diced tomatoes
1 lbs ground beef (browned)

FRESH:
1/2 cup chopped finely carrots, green onion, (option) bell pepper, (option) 1-2 jalapenos, and garlic, chili powder, and salt & pepper to taste.

Optional: add Macaroni! Add one box of dry macaroni and 1 can of chicken broth.

Combine all ingredients in bit pot, bring to a boil. Be careful not to burn and stir often. Then bring to simmer and heat on medium till macaroni is tender. Enjoy!

Sunday, January 8, 2012

DIY: Homemade Paper Crafts - Decorate with Paper!

DIY: This is an addition to my last post - how to make a homemade paper banner. This one is personalized - you can see I drew it out first. I used LIME GREEN, BLUE and white paper to make this, I also added bright colored ribbon, and yarn to the ends and the middle to make it more festive. The options are endless, and still pretty cheap. Plus if you are making the decorations yourself - you can make them all match!


This is basically the look you get with a homemade banner. This was my Christmas one.

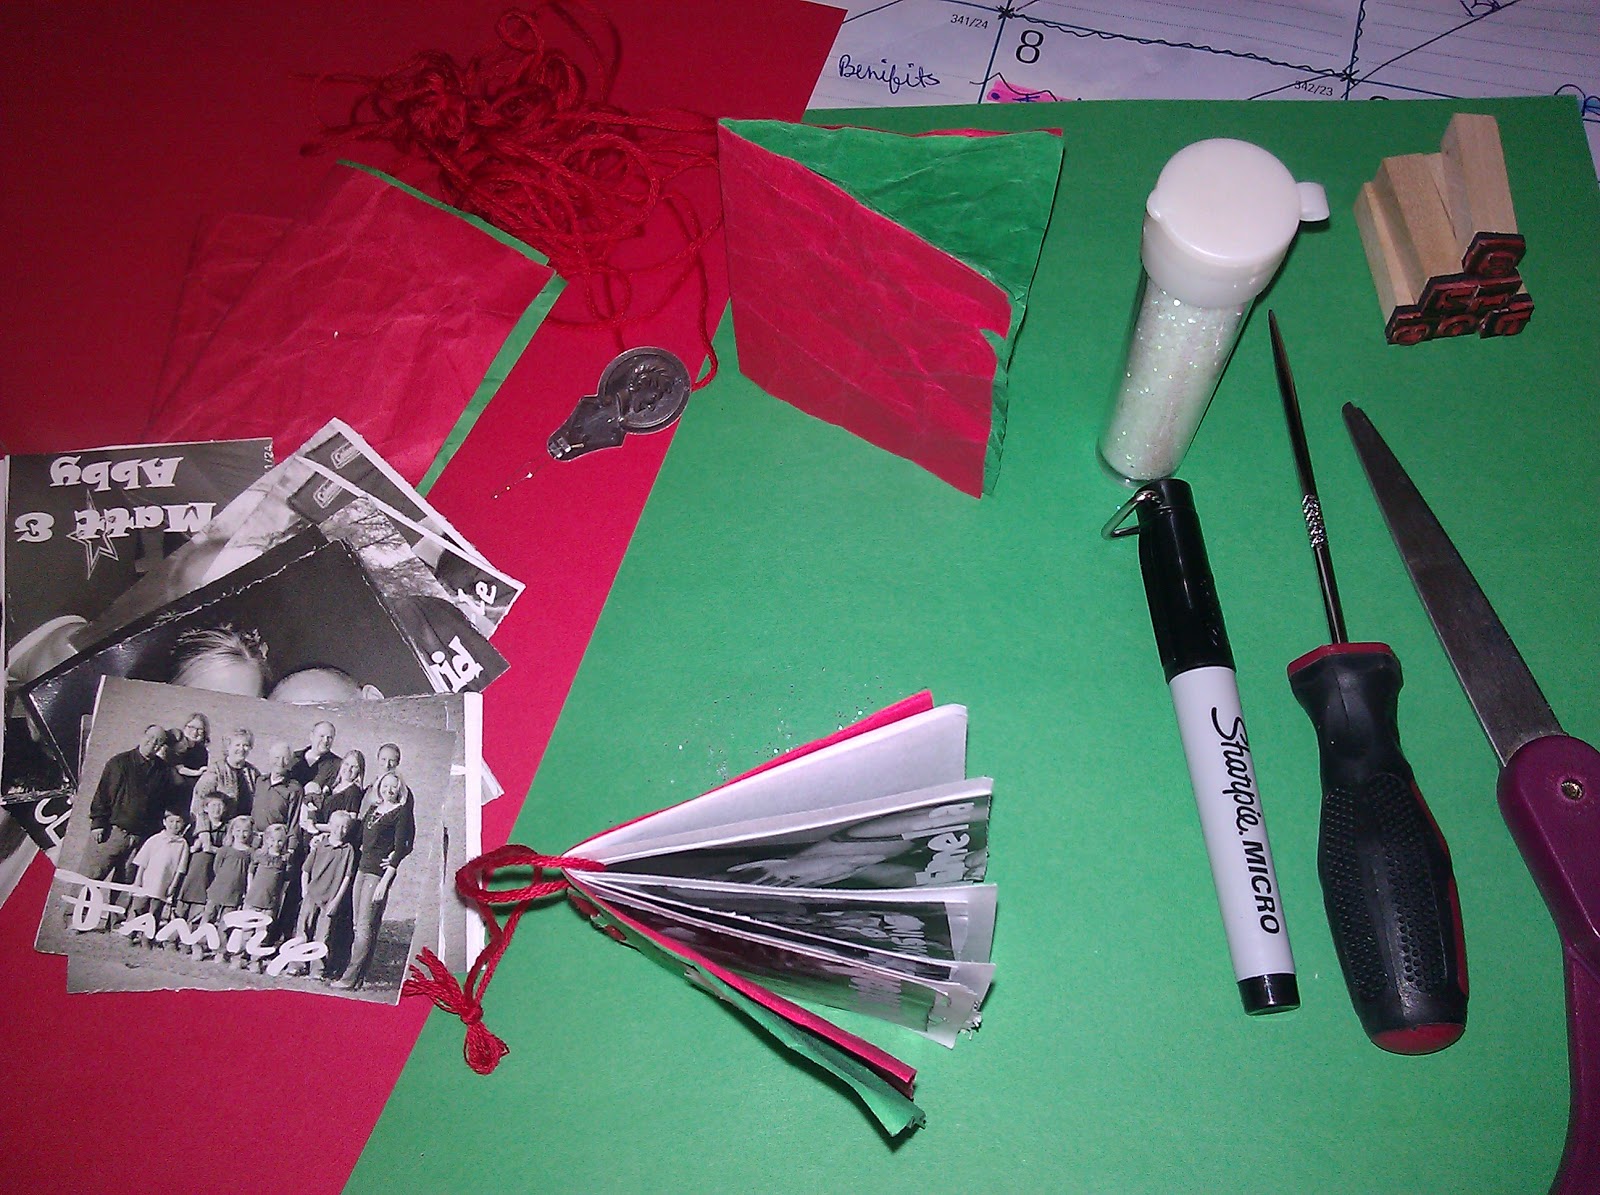
I then tried homemade paper books this year. At the community center one of the groups is called the Book Making Club and I took a couple of their samples to learn how. Basically you can make them any size and color. I used red and green for the Christmas. Plus I used stamps, glitter and the other supplies are scissors, a punch, thread and a threader, a sharpie and a computer to make the photos that went in the "books". I also made these books ornaments. It was a lot of fun and really popular.


This is the what the front looked liked after I finished.

Here is the photos and a finished one.
Enjoy!

DIY: Paper Decorations - Homemade Paper Banner and Homemade Gift bags

DIY: I love working with paper. It's cheap, handy and easy to make a number of different things. From invitations, to scrapbook pages, to personalized cards, and so much more. This year I have been experimenting with more and more paper, to see just how much I can make from just paper (and a computer of course). You don't have to use super-sophisticated clip are or photos to make great decorations, but having a variety of fonts, photos, and icons will come in handy. Luckily, you can surf the Internet and get just about anything. So here is a "gift bag" I made for my daughters 1st birthday, I have since gone on to make luminaries for a wedding, and holiday gift bags. Once you have the pattern down, it's so easy. So here it is again.

Cut, fold and tape! Viola!


Added side creases for effect! Looks a real bag!

This is what the bottom looks like when I tape it, I also tape the side too.

Next is a classic, but always forgotten the "paper banner". You make it say anything, out of ANY color, and use fancy fonts to make it cute! here it goes. So use a 8X10 to make two triangles, then put in the letters you need. Then print on colored paper, or on white if that is what you want. 

For the holidays I use RED and GREEN paper for this homemade Holiday Paper Chain.

Then I matted it to opposite color of paper.

I used two sided tape at the top and used a hole punch to put the string through.

And there you have it! An easy, cute, CHEAP way to decorate and add a festive feel to anything!! This I made and gave to my secret Santa this year. So easy!